Exploring the Different Ways to Load 3D Models in visionOS
In this article, we’ll walk through the different approaches to bringing 3D objects to life on visionOS, and review the main options the framework provides. RealityKit offers multiple ways to load and display 3D models in your visionOS app. You can use Reality Composer Pro to build complete scenes that already contain your models, or you can load and manage individual models directly in code.
Loading from Reality Composer Pro
Reality Composer Pro offers a visual and intuitive way to design and organize your 3D scenes without writing code. It allows you to:
- Animate objects
- Manipulate transforms (move, scale, rotate)
- Apply materials and shaders
- Add audio for spatial effects
- Set up simple interactions and behaviors (e.g., triggers, timelines)
Important limitation: Reality Composer Pro is not a modeling tool; you can’t create custom 3D geometry directly inside it. To design new 3D objects, use external software such as Blender or Houdini, then export them in the USD/USDZ format and import them into Reality Composer Pro.
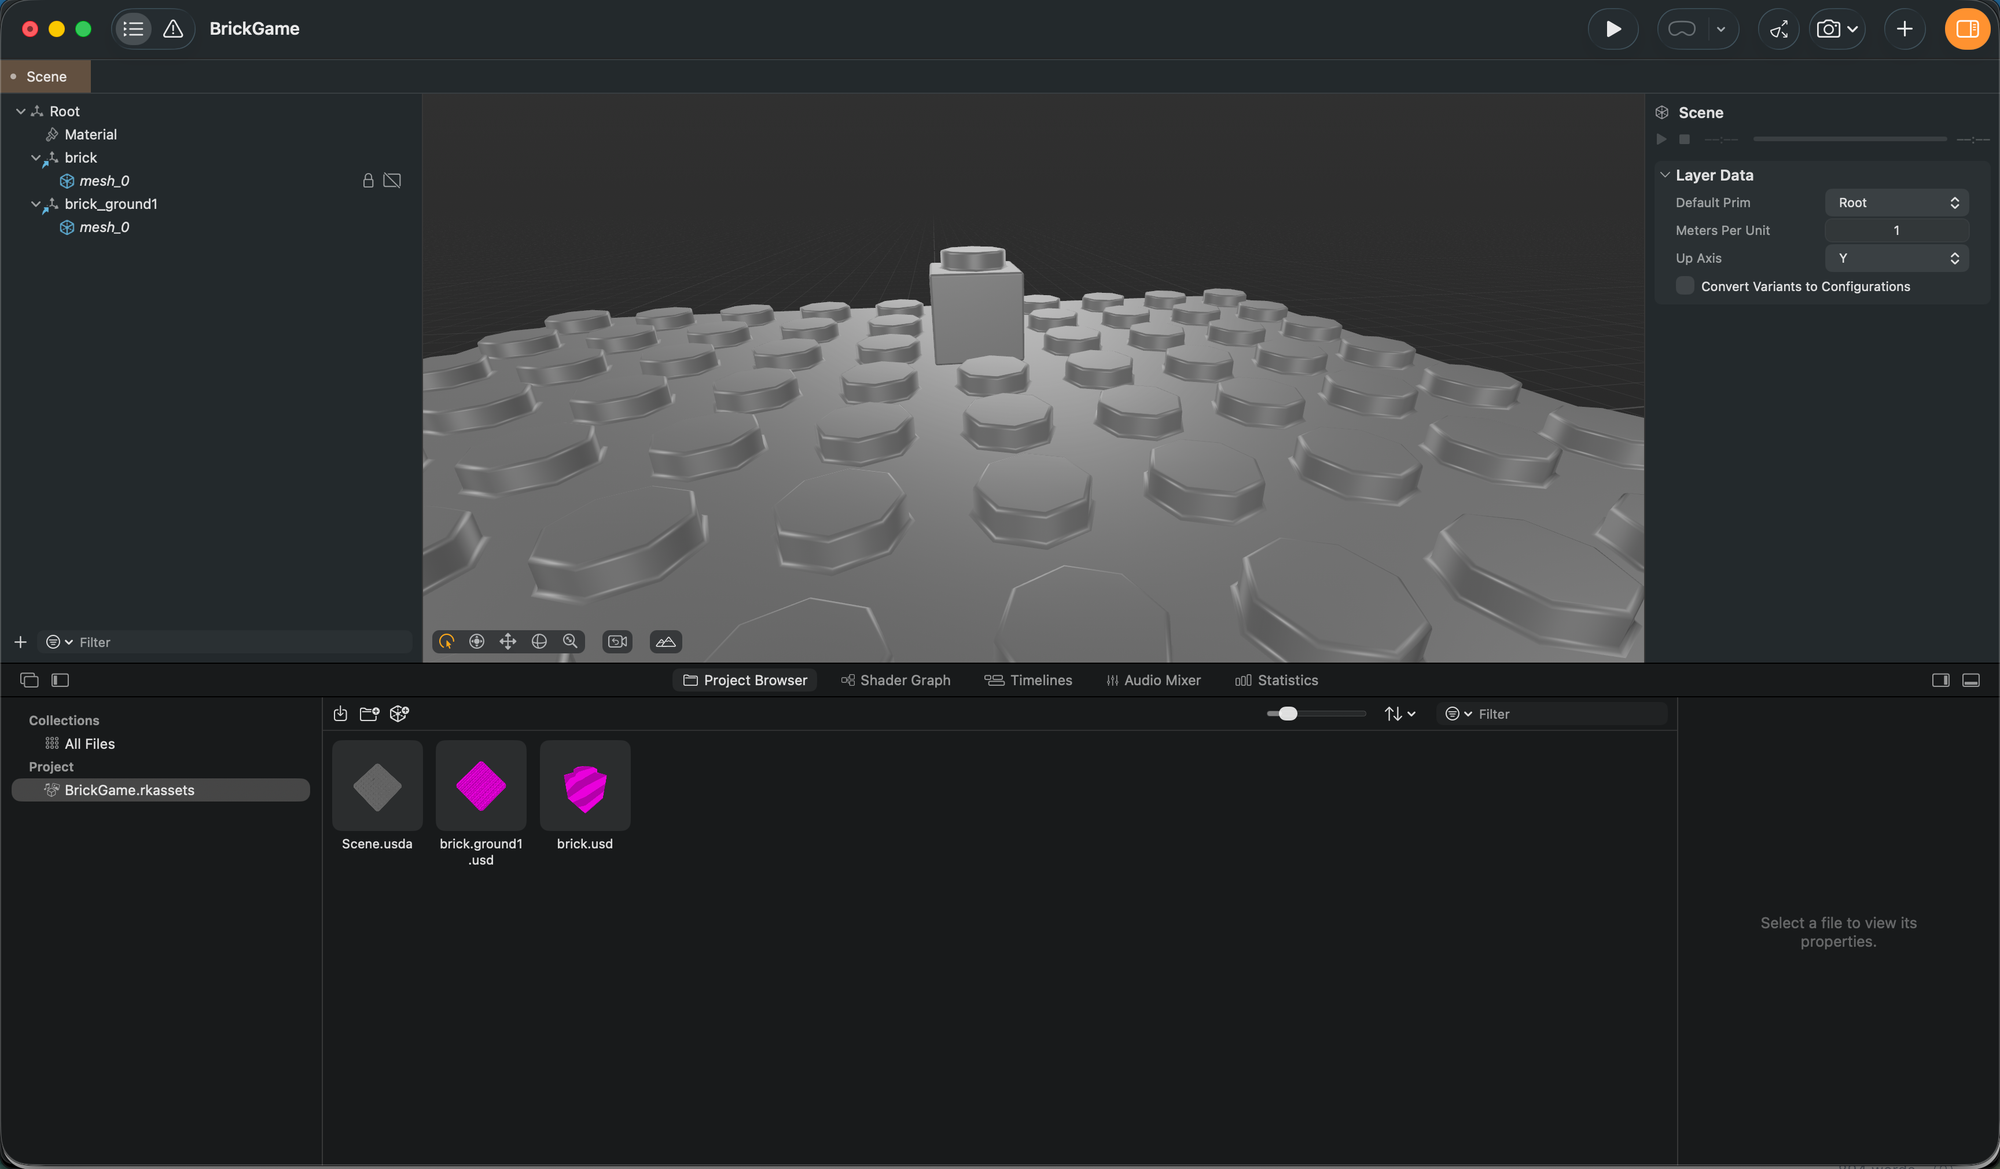
Loading a Scene from Reality Composer Pro
Once you’ve built and saved a scene in Reality Composer Pro, you can load it directly into your app using RealityKit.
This method allows you to bring in all the entities, animations, and settings you defined in RCP with just a few lines of code.
import RealityKit
import RealityKitContent

struct MYScene: View {
    var body: some View {
        RealityView { content in
            do {
                // Load the scene named "MyScene" from the Reality Assets
                let scene = try await Entity(named: "MyScene", in: realityKitContentBundle)
                content.add(scene)
            } catch {}
        }
    }
}
Entity(named:in:)asynchronously loads a scene exported from Reality Composer Pro.content.add(scene)adds the entire scene hierarchy to your RealityView.- Always use await since loading is asynchronous.
Accessing Entities Inside the Scene
If you’ve named entities inside Reality Composer Pro (which is highly recommended), you can easily access and manipulate them in code:
// Find an entity inside the loaded scene by name
if let cube = scene.findEntity(named: "Cube") {
    cube.transform.translation = [0, 0.5, 0]
}
findEntity(named:)searches recursively for an entity in the scene by its name.- You can use
.childrento iterate through all entities in the hierarchy if you need to inspect or modify several at once.
Loading from the App Bundle
After creating a 3D object in third-party software such as Blender or Houdini, export it in USD/USDZ format. Then drag and drop the file into your Xcode project so it becomes part of your app bundle.
Once added, RealityKit provides several ways to load these models, depending on your needs.
1. Synchronous loading
If you only need to display a static model, you can load it synchronously using:
let entity = try Entity.load(named: "name_of_your_resource")
content.add(entity)
This method loads the model directly from the bundle without async/await.
It’s ideal for quick previews or static scenes where you don’t need to modify or animate the model.
However, there are limitations:
- You can’t attach custom components or shaders.
- The entity’s transform (position, rotation, scale) can still be adjusted, but that’s all.
2. Asynchronous loading
When you need more control, such as adding components or physics later, load it asynchronously:
let entity = try await Entity(named: "name_of_your_resource")
content.add(entity)
This version returns a fully initialized entity that can be manipulated in code.
You can add components like:
entity.components.set(PhysicsBodyComponent())
⚠️ Note: If the USD/USDZ model doesn’t include any material, you can’t assign a new material directly to an Entity. To modify materials, use a ModelEntity, which supports custom materials and shaders.
3. Using ModelEntity for More Flexibility
For models where you want to change appearance, physics, or animation, prefer:
let model = try await ModelEntity(named: "name_of_your_resource")
Unlike Entity, a ModelEntity contains a mesh and material, so you can:
- Apply new materials or shaders
- Add physics or collision components
- Animate transforms dynamically
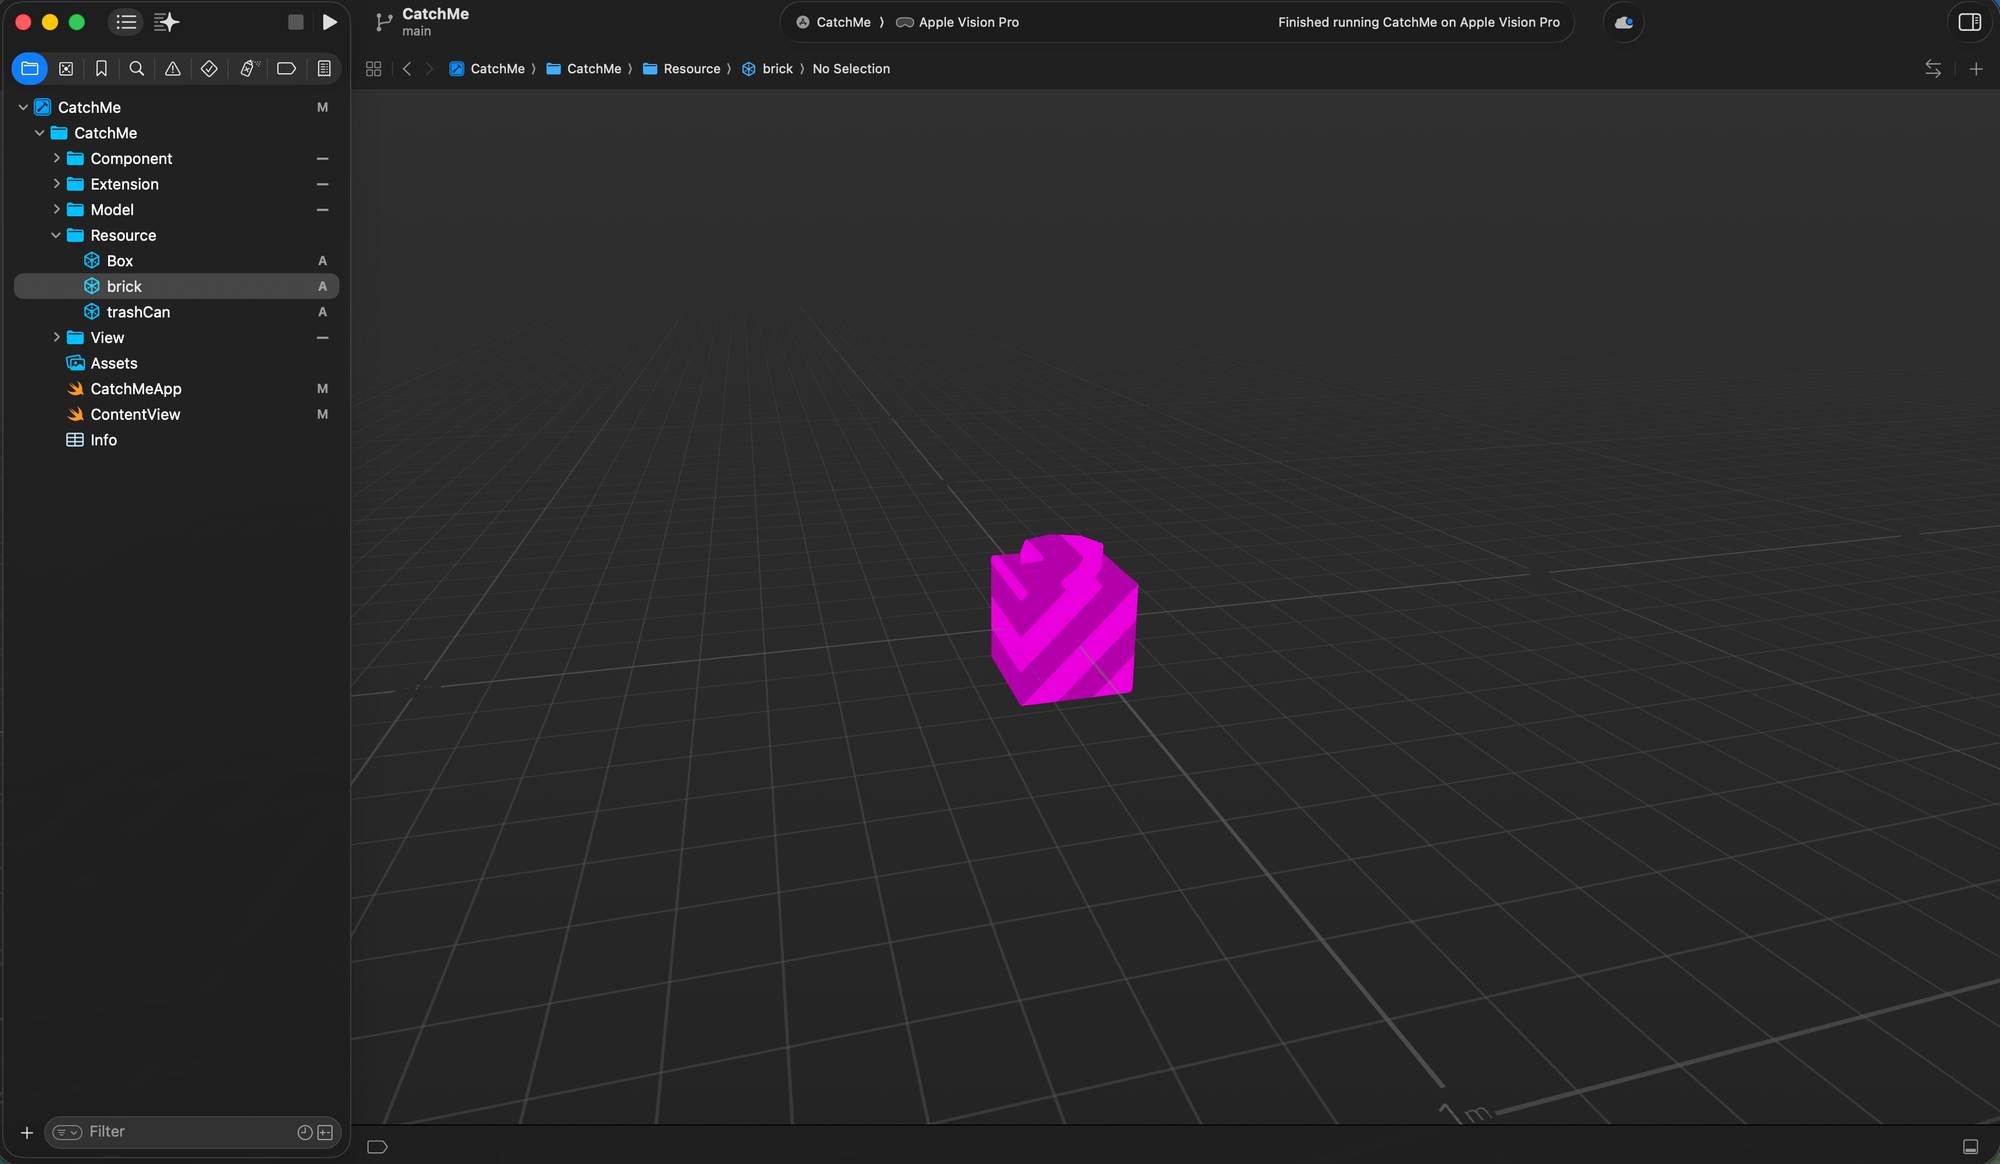
4. Using Model3D
It provides the simplest way to asynchronously load and display a 3D model directly in your SwiftUI interface without manually working with entities.
import RealityKit
import SwiftUI

var body: some View {
    Model3D(named: "brick")
}
5. Loading from a Remote URL
When your project includes many 3D assets, your app bundle size can grow quickly.
To optimize storage and keep downloads lighter, RealityKit allows you to load assets remotely at runtime.
let url = URL(string: "https://example.com/brick.usdz")!
let entity = try await ModelEntity(contentsOf: url)
content.add(entity)
Conclusion
RealityKit provides a flexible set of tools to load and display 3D assets in visionOS. Whether you’re importing complete scenes from Reality Composer Pro, loading standalone models from your app bundle, or streaming them from a remote server, the approach depends on your project’s needs:
- Use Reality Composer Pro for visual scene assembly and simple interactions.
- Use Entity or ModelEntity when you want code-level control over transforms, physics, or materials.
- Use Model3D for quick integration inside SwiftUI interfaces.
- Use remote loading when optimizing app size or providing dynamic content.
Each method serves a specific purpose, understanding these options helps you choose the most efficient workflow for your 3D experience on Apple Vision Pro.